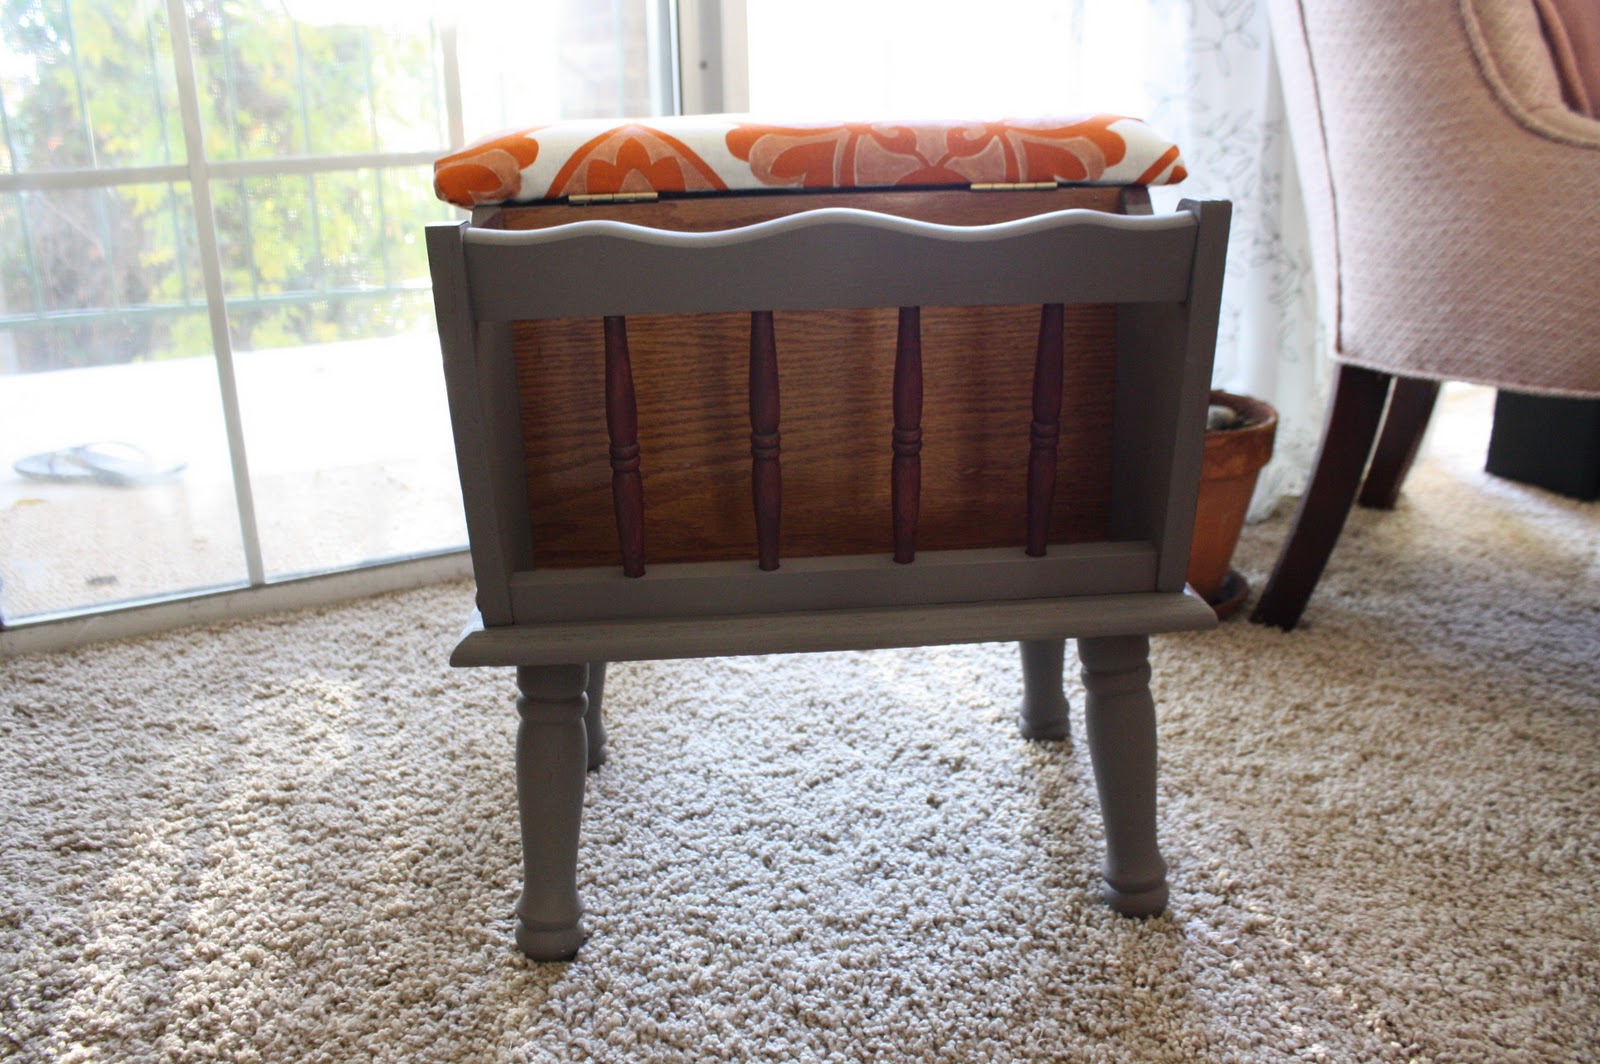
DIY: ottoman refinished
 |
AFTER |
So after cleaning it up, the first thing I did was take the upholstered foot rest off of the ottoman.
Next I placed masking tape - equally from each other as I want the stripes to be painted on. Then I applied the paint over the tape.
And this is how it turned out when the tape was taken off.
While this paint was drying, I painted the legs of the ottoman a shade of grey.
I went back to painting the stripes to fill in the gaps with the same grey color.
This is how it looks like when I was done. I didn't want straight stripes, so I did painted outside the edges to make those notches over the stripes.
Now onto the other side. I used a different technique here where I painted the entire surface grey first.

After the grey paint dried, I placed the masking tape and painted the purple stripes. I repeated the same thing on the opposite side.
Now onto the front- I painted most of it grey. I left the inside its original wood grain.
Then I painted the rails purple to accentuate their elegance.
Now onto the upholstered foot rest. I had some leftover IKEA fabric that I decided to use. I am sure everyone is very familiar with this print.
I took off the hinges first to be able to reupholster.
Then I started stapling away around the foot rest over the folded fabric.
This is how it turned out.
After that I screwed back in the hinges onto the foot rest.
I wanted to give the fabric itself a little update so that it is a nice contrast to the ottoman base. I used some bronze fabric paint to do this.
A small brush was good enough to paint the shapes that I wanted.
I filled in the white spaces in between the pattern.
This is what it looked like at the end.


Comments
Post a Comment